How to Change Mautic Settings to SES API from SES SMTP
Assuming that you have setup Mautic to send email messages using Amazon SES, you may have noticed that Mautic 3.1 now includes the ability to send using the AWS SES API rather than the SES SMTP for sending. The advantage this offers is simply the speed that you can blast out. The SES API is reportedly 14 X faster for sending emails than the SMTP service.
We originally followed this video: Send Marketing Emails For Basically Zero Dollars – Mautic + AWS SES
Which frankly is terrific for setting ups SES in Mautic
After Upgrading to Mautic 3.1
After you run the update to Mautic 3.1 it is time to setup access in your AWS SES for API access.
If you are using Amazon SES in us-west-2 as we are, then you simply go to this address. https://console.aws.amazon.com/iam/home?region=us-west-2#/users$new?step=details
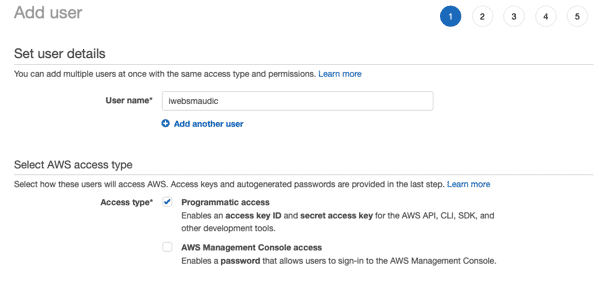
Enter a User Name
Tick Programmatic access
Click Next

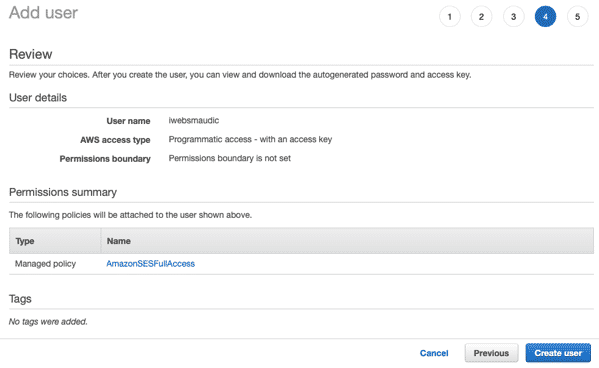
Select Attach Existing Policy

Type SES in the search and select the Full Access policy
Click Next

Skip this Tag step

Click the create user button

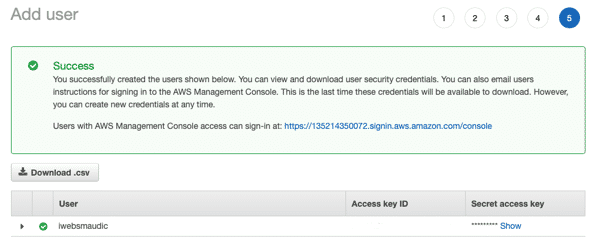
Now you need to note down the Amazon User Details that you just created. This is the only time you will have access to these.

Now login to the Mautic Configuration > Email Settings
Change the Service to send email through from AmazonSES – SMTP to Amazon SES – API
Important: SET the Region. This was not so important with the previous settings, but is now.
Put in your recorded data for the user name, being the Access Key ID and the pass that we recorded above.
Apply

Test configuration and you should see the little test “Success!” above.
That is about it. You are ready to go!

Thanks for that article !
It helped me implement the Amazon API (previously used SMTP).
It would be interesting to develop how to handle bounces (see Bounce management on Mautic doc 😉 )
Me too, Eric. I found an article on medium, but it dates from 2015.
I hope David could write about that.
This doesn’t work for me. I create a new SES user exactly as described, then in Mautic, entered the user id and password (copy pasted, no possibility of error) with the region for certain set correctly. No joy.
I get:
Error executing “GetAccount” on “https://email.us-west-2.amazonaws.com/v2/email/account”; AWS HTTP error: Client error: `GET https://email.us-west-2.amazonaws.com/v2/email/account` resulted in a `403 Forbidden` response: {“message”:”The security token included in the request is invalid.”} UnrecognizedClientException (client): The security token included in the request is invalid. – {“message”:”The security token included in the request is invalid.”}
Apply changes to the configuration to send a test email.
I’ll be doing another one soon and will post updates if I work out a solution.
Mesma coisa comigo
I was able to get it to work by going to the AWS IAM Manager credentials page and creating a new set of credentials, then giving Mautic the “Access key ID” as user name and “Secret access key” as password. Perhaps I misunderstood the post, but I was unable to get it to work using the username and access key generated as described, even after multiple attempts and exchanging the one value for the other, so if anyone else has the same problem, perhaps try creating the credential from the IAM Manage cred. page. Thanks/
Thanks for the suggestion.
Is the bounces and spam marking handled by API now? Or do we need to set up bounces like in SMTP?
I believe it is now handled. Certainly the bounce is, but the reply should end up in your “from” email address mailbox.