How to Set Up Free SSL Certificates on IIS Using – Certify The Web
Using SSL to secure your website these days is very important. Many browsers throw messages to users who visit sites that are http:// and not https://. Although these warning can be ignored, they are concerning for users who do not understand the meaning of a browser when they say something like “This Site is Not Secure”.

It is kind of unprofessional too for hosts not to offer to install SSL certificates for their clients.
The solution and the How to Set Up Free SSL Certificates on IIS Using – Certify The Web is really rather easy.
On your Windows server running IIS and your website in question, browse to: Certify The Web Download
And access the download.
Run the download as an Administrator user either logged in as one or “Run as Administrator”
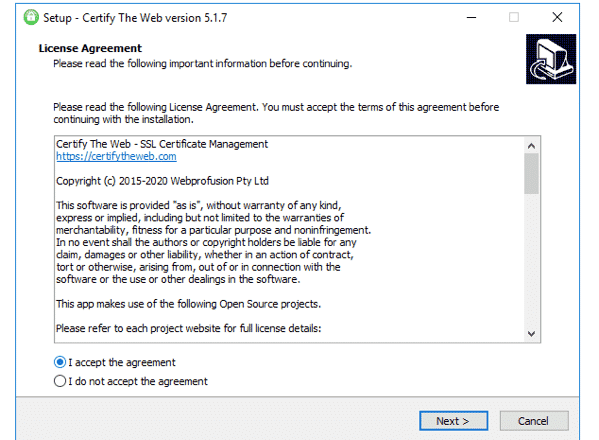
Accept the Agreement and NEXT
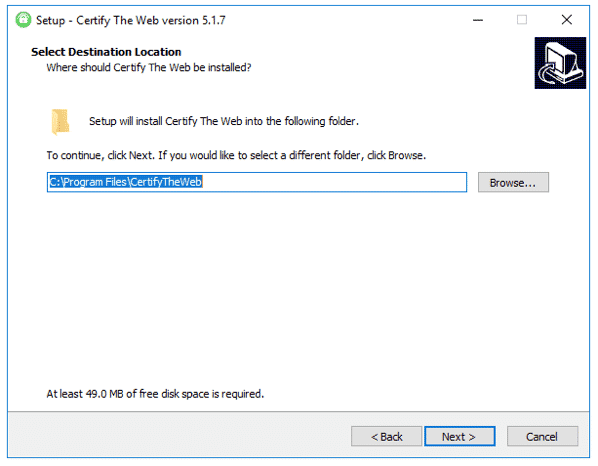
Accept the Default Location and NEXT.

Accept the Default Folder and NEXT
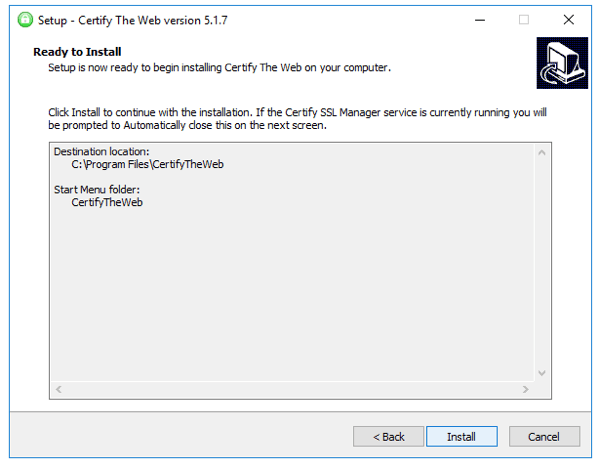
Click Install on the Summary Screen

Click Finish which will Run the Application.
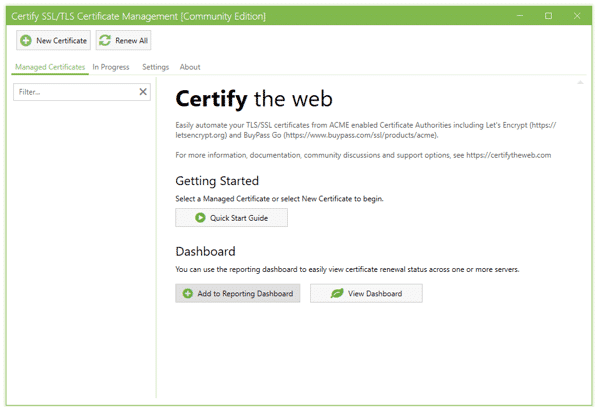
Click on New Certificate

Click OK

Accept the Let’s Encrypt Certificate Authority and Enter Your Email Address

Tick the Accept and Register Contact

Then Click New Certificate Again, since we have now registered.

From the Dropdown List select the Site in IIS that you wish to secure. Note that in this example our site name is the domain name of the site. But your name could be anything. Just select the correct one.


It will come up with the domains that are Matching the Bindings of the Web instance. You can see in the list from the certificate tool matches the bindings we have in IIS for that site.
You can select the domains / bindings you want to use. One or in our case in this example we will create certificates for all the site.

As you do this, the tool will put the primary domain into the name place for the certificate you are creating.

Then Click on the Text Button, to test that each of the domains you have selected will allow authentication and access to the domain URL to approve ownership of the certificates authentication. You will see a Test Progress that shows that the selected domains we have are accessible.

Then Close that out the way with the arrow.

Then Click on Request Certificate
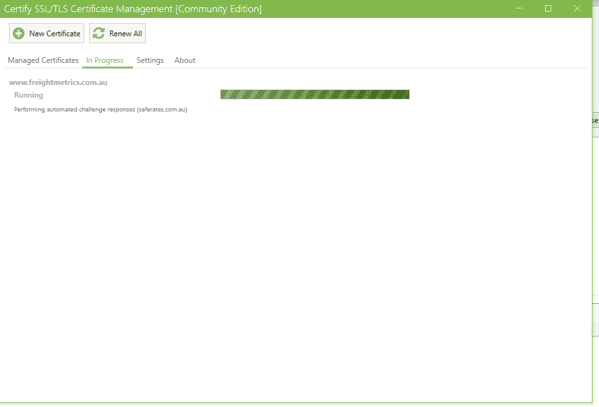
Then wait for a while while it does its thing.

If you get any errors, you will need to resolve them. In our example we intentionally left a sub domain that was used to setup the site initially. There is currently no DNS record for this sub domain, and subsequently the IP address could not be resolved. The solution is one of two option.
1. Configure a DNS A record to point this sub domain to the correct IP address of the IIS server.
2. Remove this from the list of selected bindings and subsequently NOT generate a certificate.
We are taking option 2 in this example.

We go back to the Manage Certificates, and untick the sub domain that failed above. This is where things got a bit sketchy. You would think that the tool is smart enough to work out that we are no longer requesting the certificate for this unticked sub domain. However we found that it would still fail on the sub domain when we re-ran the issue certificates.
What we had to do was to delete the certificate generation attempt here.
Close out the Certify SSL/TLS and then REMOVE the binding from the IIS site instance that is no longer in use.
Restart IIS – IISRESET from a command prompt
Then open the tool again and try to generate a new certificate.
We found that the certificates generated successfully at that point.
